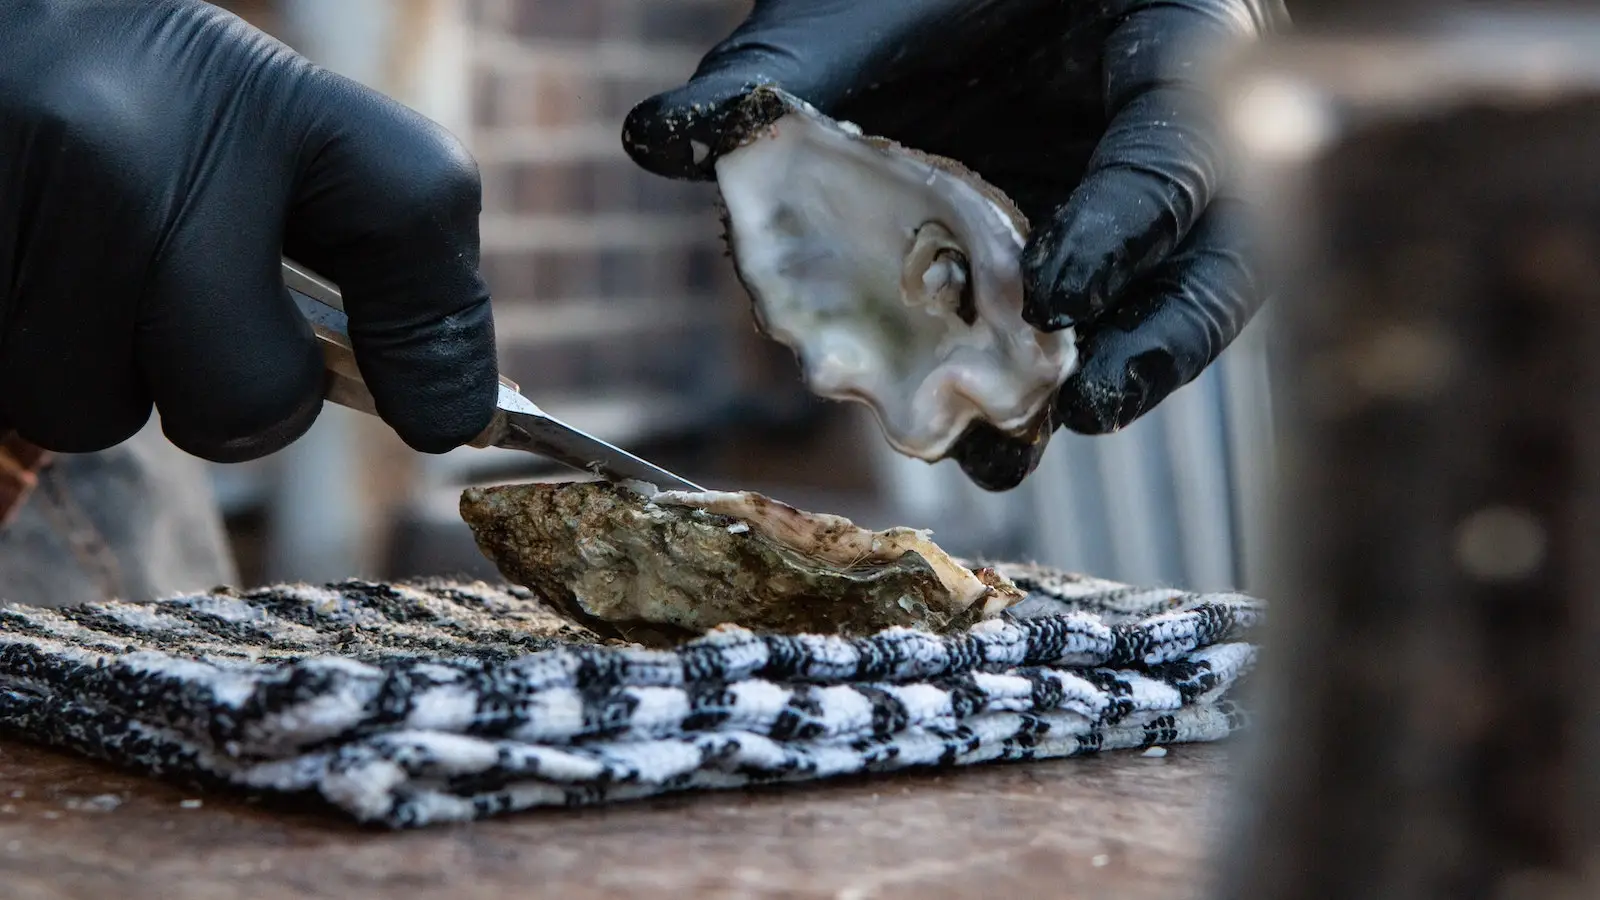
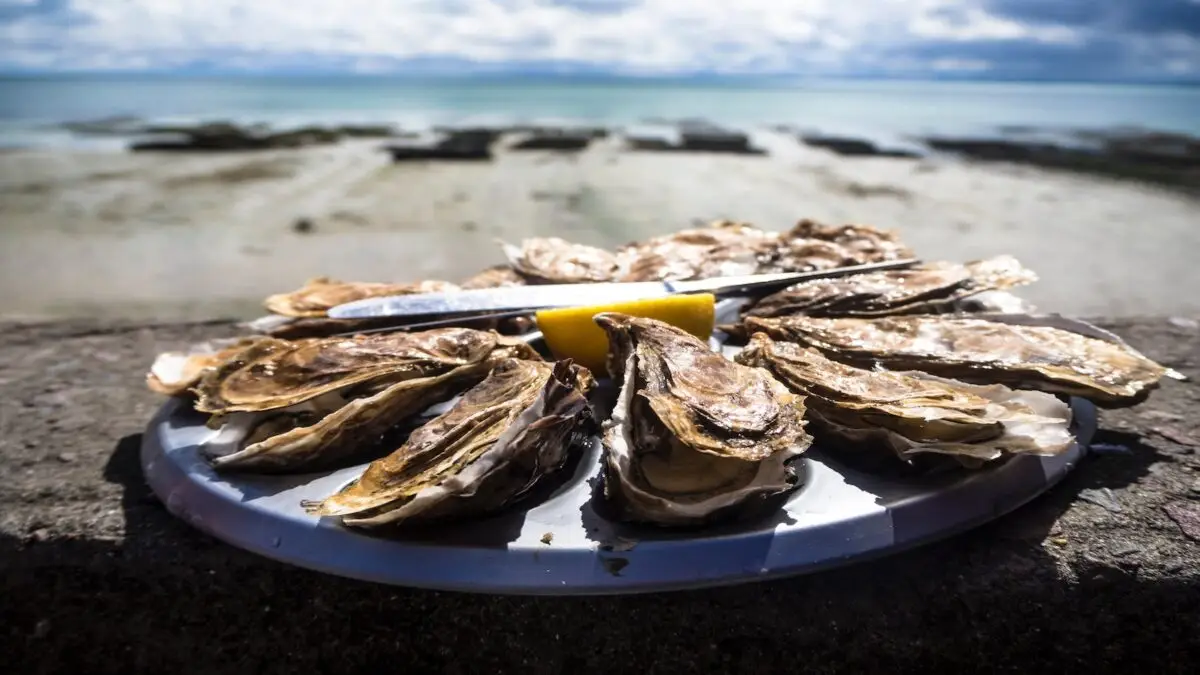
Cultural myths apparently apply to shucking oysters as well. Since I was a youngin’ I’ve been taught to “be sure leave the juice in that their oyster, cuz that’s where all the flavor is.”
Wrong. Lies. Not true.
So there I was, shucking oysters by myself at a Tomales Bay oyster farm, when a seriously salty old man appeared Boo Radley-style to say, “Son, you’re doing that all wrong. You gotta let the oyster rest and relax for a few minutes.”
Featured Photo: Courtesy of Ben Stern via Unsplash
What the Shuck?

And by Poseidon, he was right. Here’s what he taught me (and, for the record, every person I’ve shown this technique to has been converted into a true believer): After removing the top shell, completely separate the oyster meat from the bottom shell. Then using a faucet or water jug, run a small amount of water atop the bottom shell to flush out the bits of shell, etc. Then do the same to the oyster meat. You want both the shell and the meat to be rinsed of all the salt water and stuff it came with (“Blasphemy!”).

Now here’s the cool part. Placed the rinsed oyster back atop the rinsed shell, then wait a few minutes. What will happen is that the oyster will slowly release the briny juices within the meat. Within five minutes the entire bottom shell will be full of briny liquid again, but this time with none of those gross little black worms or bits of oyster shell to crack your crowns.
Add a dab of mignonette and cocktail sauce and Bob’s your uncle.
BONUS TIP: Invest in good oyster knife. The ones they sell at Safeway suck — the blade is too wide for extra small oysters and there’s no angle to the tip.
Looking for more things to do in the area?
Visit our What to Do in Northern California page!


